Airdrop Troubleshooting
Troubleshooting AirDrop on a Mac
There are more tricks to getting AirDrop working on a Mac than there are for an iOS device. This is
because, on a Mac, you have access to the Terminal, more settings you can adjust, and the ability to
delete files from system folders.
Update macOS
You’ve heard it before, but we’ll say it again: you should keep your device up to date if you want to
minimize software issues. AirDrop is temperamental at the best of times, so if your Mac is running an
outdated version of macOS, and you’re trying to send files to your brand-new iPhone 11, that might
be the problem.
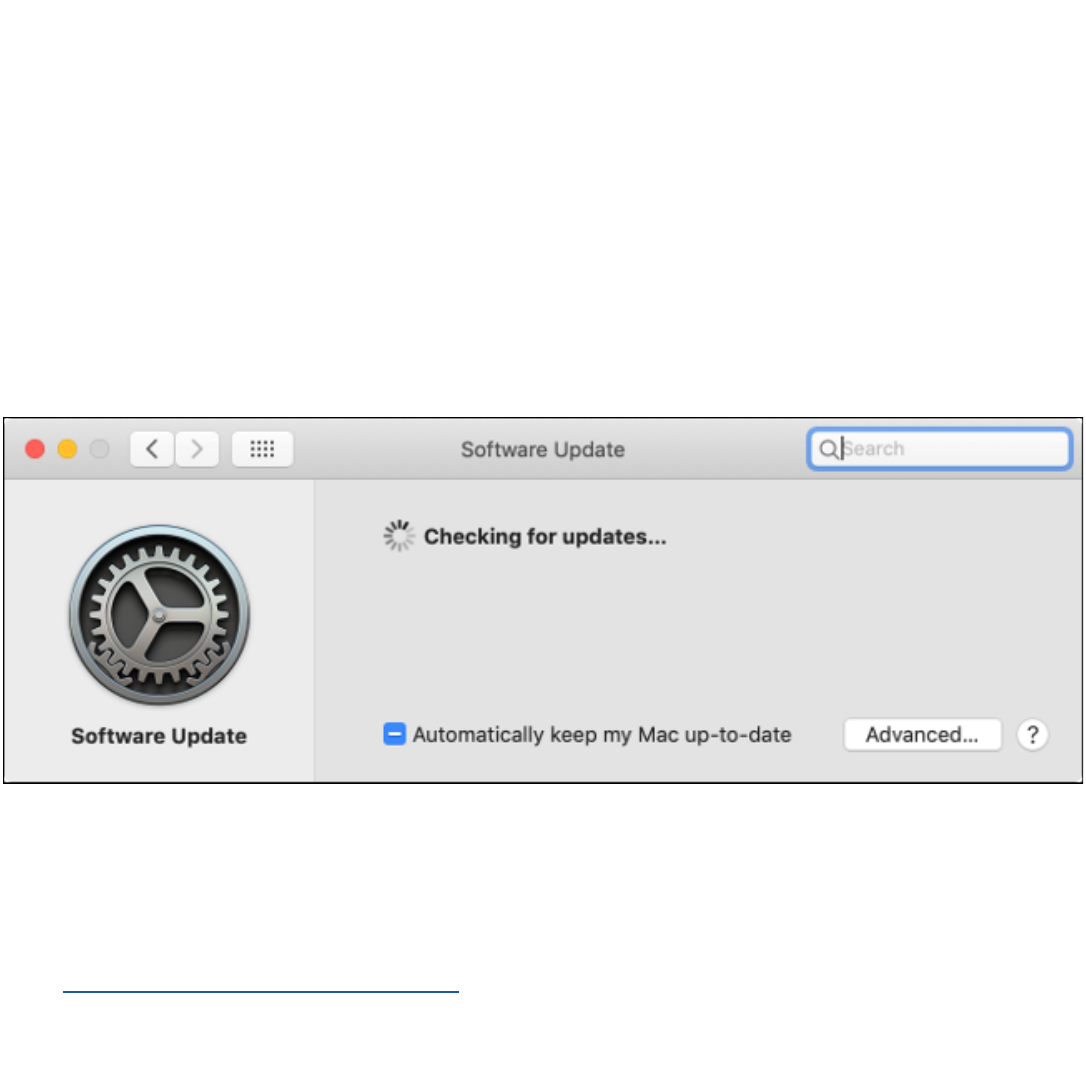
First, back up your Mac with Time Machine, and then head to System Preferences > Software Update
and install all available updates. If you’re not running the latest version of macOS, open the App
Store, search for “macOS,” and then download it for free.

Open AirDrop in Finder
According to Apple, if your Mac runs OS X Mavericks or earlier, you have to open Finder and click on
AirDrop in the sidebar to transfer files. Apple doesn’t stipulate this requirement for later versions of
macOS, but we’ve had better results when we open the AirDrop window before starting a transfer.
Set Your Mac’s Visibility to “Everyone”
If you have trouble sending files to a Mac, adjust the visibility under Finder > AirDrop. At the bottom of
the screen, click the arrow next to “Allow Me to Be Discovered By:” and select “Everyone” from the
drop-down menu.

If you select “Contacts Only,” make sure the other party’s contact details appear in your Contacts
app. Apple doesn’t specify which particular piece of information it uses to identify a contact, but an
email address linked to an Apple ID is a solid choice.
Sometimes, the “Contacts Only” option doesn’t work properly—even when email addresses and
phone numbers are present. For best results, make sure both parties appear in each other’s Contacts
apps.
Disable Do Not Disturb
Do Not Disturb mode interferes with AirDrop because it makes your Mac invisible to other devices. To
disable it, open “Notification Center” (the icon in the top-right corner of your screen), click the “Today”
tab, scroll up, and then toggle-Off “Do Not Disturb.”
Search for an Older Mac

Older Macs use a legacy implementation of AirDrop that isn’t compatible with the latest iOS devices.
You can use a modern Mac to send files to an older Mac, but you first have to tell AirDrop to search
for the older Mac. If your Mac was manufactured pre-2012, this method might work for you.
First, make sure the older Mac is visible, and the AirDrop window is open and ready to receive. On
your newer Mac, head to Finder and click “AirDrop” in the sidebar. Click “Don’t See Who You’re
Looking for?” at the bottom of the window, and then click “Search for an Older Mac.”
Connect to the Same Wi-Fi Network
Apple explicitly states that both devices do not have to share the same Wi-Fi network for AirDrop to
work. However, our own experience suggests that when devices share a network, the results are
much better. If possible, connect both devices to the same network, and then try again.
Disable “Block All Incoming Connections”
If you use the firewall that comes with macOS, it might be blocking incoming connections, too. To
prevent AirDrop transfers from failing, you should disable this setting. You don’t have to stop using
the firewall to do this.
Head to System Preferences > Security & Privacy, and then click the “Firewall” tab. If the Firewall is
set to “Off,” you can move on to the next tip.
If the Firewall is on, click the lock in the bottom-left corner of the window, and then type your admin
password (or use Touch ID, or your Apple Watch, if possible).
Next, click “Firewall Options.” In the window that opens, make sure the checkbox next to “Block All
Incoming Connections” is unchecked. Click “OK” to save your changes, and then try again.
Disable Wi-Fi and Bluetooth Manually

Sometimes, you just have to turn it off and on again. To do this with both Bluetooth and Wi-Fi, click
the relevant icon in the menu bar at the top-right of the screen. After you turn off both Wi-Fi and
Bluetooth, turn them back on, and then try again.
Kill Bluetooth with a Terminal Command
If that doesn’t work, you can try to kill your Mac’s Bluetooth service, instead. This essentially forces
the service to restart, and can potentially solve visibility and transfer issues, too.
To do this, open a new Terminal window, and then type (or paste):
sudo pkill blued
Press Enter, type your admin password (or authorize via Touch ID or Apple Watch,) and then press
Enter again. The service restarts immediately and kills any other Bluetooth connections you have
open. You can now try to use AirDrop again.
Reset All Bluetooth Connections
This is the nuclear option, but many people have had success with it so it might be worth a shot. Your
Mac stores known Bluetooth connections in a single file. If you delete that file, you force your Mac to
make new connections, and it will potentially clear up any issues. It might also fix problems with any
Bluetooth devices that don’t pair or act erratically.
First, click the Bluetooth icon in the menu bar, and then select “Turn Bluetooth Off.” Open a Finder
window, and then select Go > Go to Folder in the menu bar.
Type (or paste) the following, and then hit Enter:
/Library/Preferences/

Find the file “com.apple.Bluetooth.plist” and delete it. You can use the search bar, just make sure you
click “Preferences” at the top of the Finder window. Now, turn on Bluetooth again and see if AirDrop
works.
Remember to re-pair your Bluetooth devices after you try this tip.
Restart Your Mac
As always, the most effective way to solve AirDrop issues is to restart your Mac and try again. It’s not
convenient, though—especially if you’re in the middle of something. We recommend you experiment
with the previous tips first to see if any of them work with your particular hardware; it might prevent
you from having the same issue in the future.
Other Mac AirDrop Troubleshooting Tips
Still having AirDrop problems? There are a few other things you might want to try:
• Restart your network equipment.
• Reset your Mac’s PRAM and SMC.
• Sign out of your Apple ID under System Preferences, and then sign in again.
• Reinstall macOS to restore your device to an “as new” state.
